Roof Top & Balcony Installations
Installing turf on building tops
Who would ever thought synthetic turf would ever be placed on roof top or balconies?
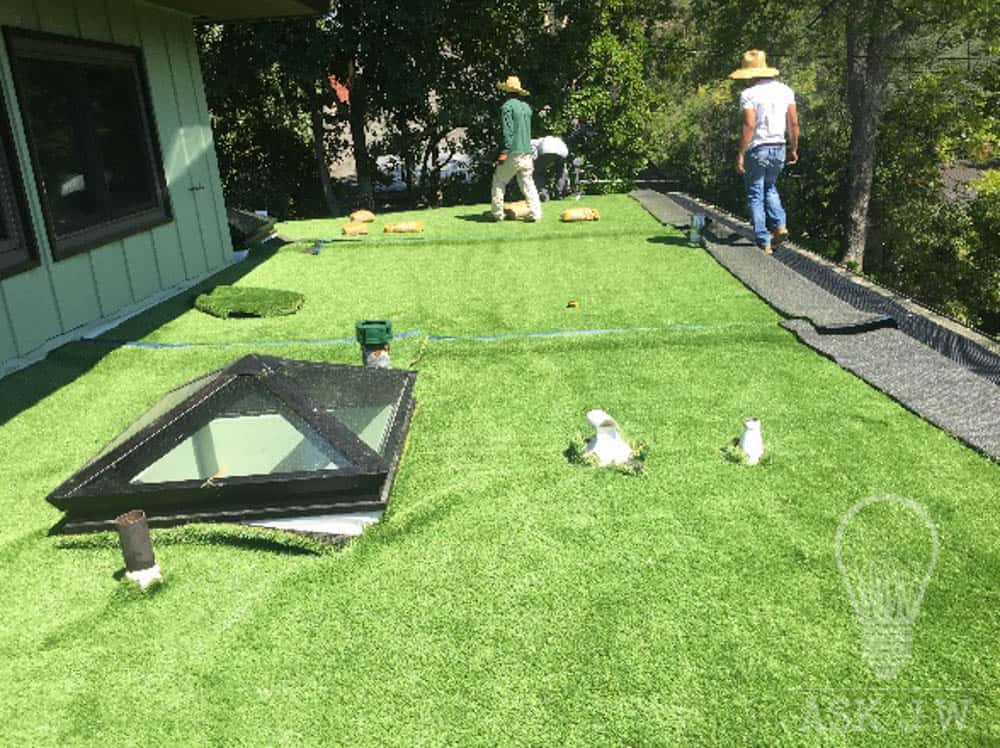
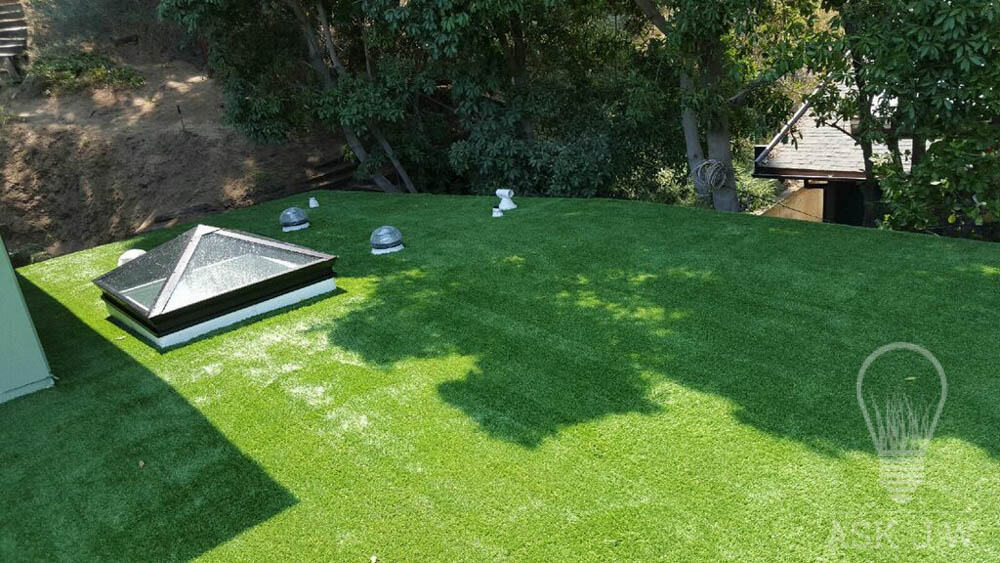
This growing trend provides visual beauty to multi-level homes, high rise condominiums and balconies that want the “green look” and feel of natural grass. The only issue is that contractors turn away from offering this service due to not understanding how to properly install this system.
Thermoplastic polyolefin (TPO) single-ply roofing are among the fastest growing commercial roofing products. Most residential and commercial roofs are being constructed with TPO when Tile or Shake roofing materials are not specified. TPO allows 100% protection of water penetration and offers an inexpensive way to completing a roof system. Even though TPO is a great roofing solution, its white flat surface is not a pretty site, especially when viewing from above. Roof top and balconies that are constructed with the TPO membrane gives the client the option to use synthetic turf other than standard tile, coatings or outdoor carpet. This month ASK JW will teach how to install synthetic turf on TPO.

When estimating and installing synthetic turf on roof tops and balconies, safety is the #1 concern before taking on such a project. I recommend employees must be harnessed while they are working at higher elevations depending on OSHA requirements. I express this highly even though some contractors ignore the fact, and feel that they don’t need it.
“Don’t be that guy”…. JW
Prior to installing synthetic turf on roof tops and balconies you must understand that proper drainage must be acknowledged. Some areas might not be sloped properly for rain water to exit. If there is no proper drainage, standing water can cause the synthetic turf system to fail and deplete its longevity.
Lay out of the system is critical. If the lay out requires seaming multiple sections, I recommend starting then placement of synthetic turf sections at the edge of the roof top or exterior wall of the balcony. It is better to have seams in the middle of the areas than having them close to the edges for integrity purposes.
Once you have your complete lay out and roll cut dimensions, you may move on to the next step of placing the underlayment of SGW Drain Core.
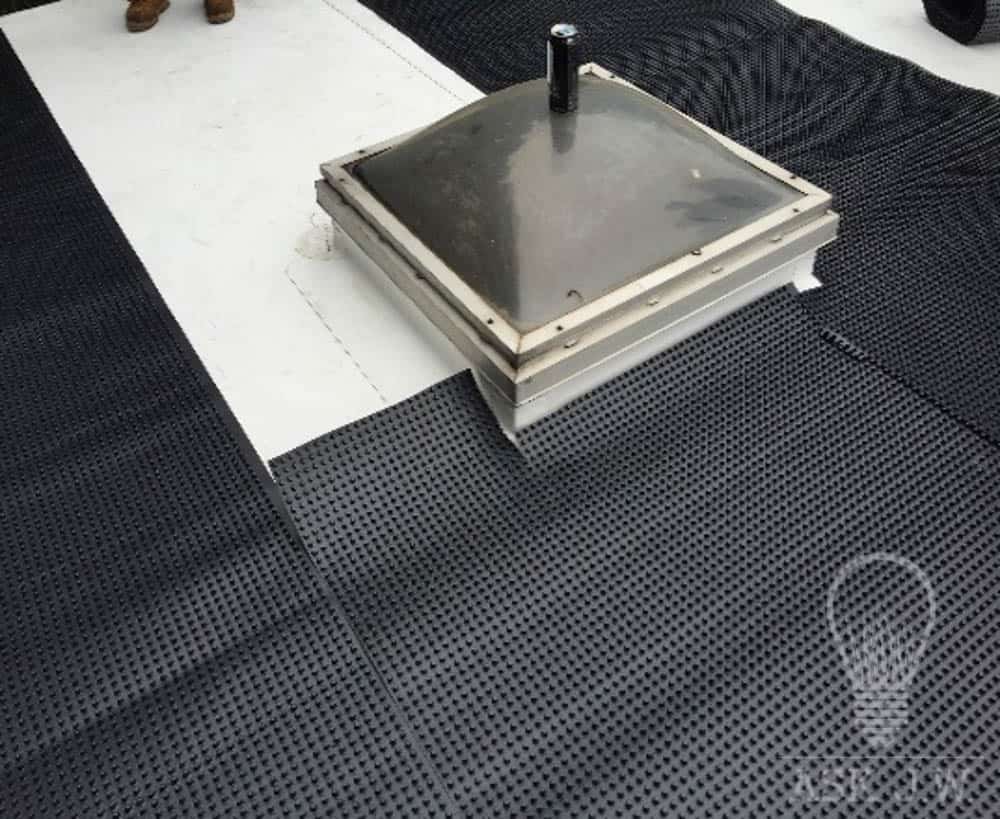
When establishing your lay out of the SGW Drain Core, I recommend placing SGW Drain Core starting from the exterior edge then work to the middle. This will allow all cuts to be made away from all edges and provide safety working the edge of the roof top. It will allow the cuts to be easier when placing on balconies.
Preparation of surface
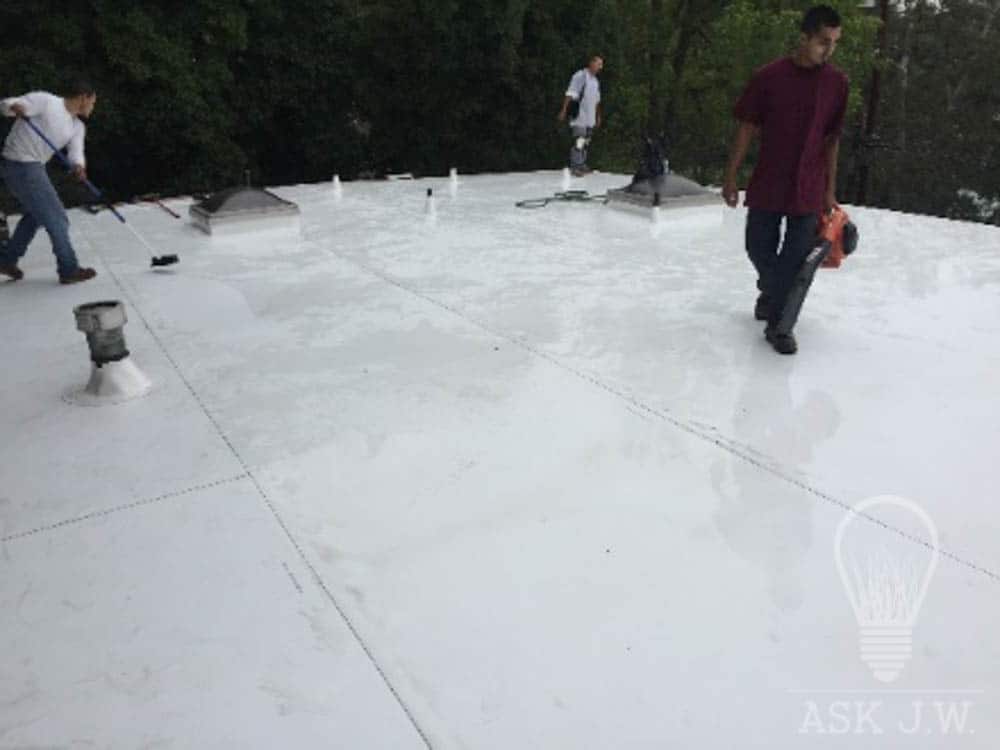
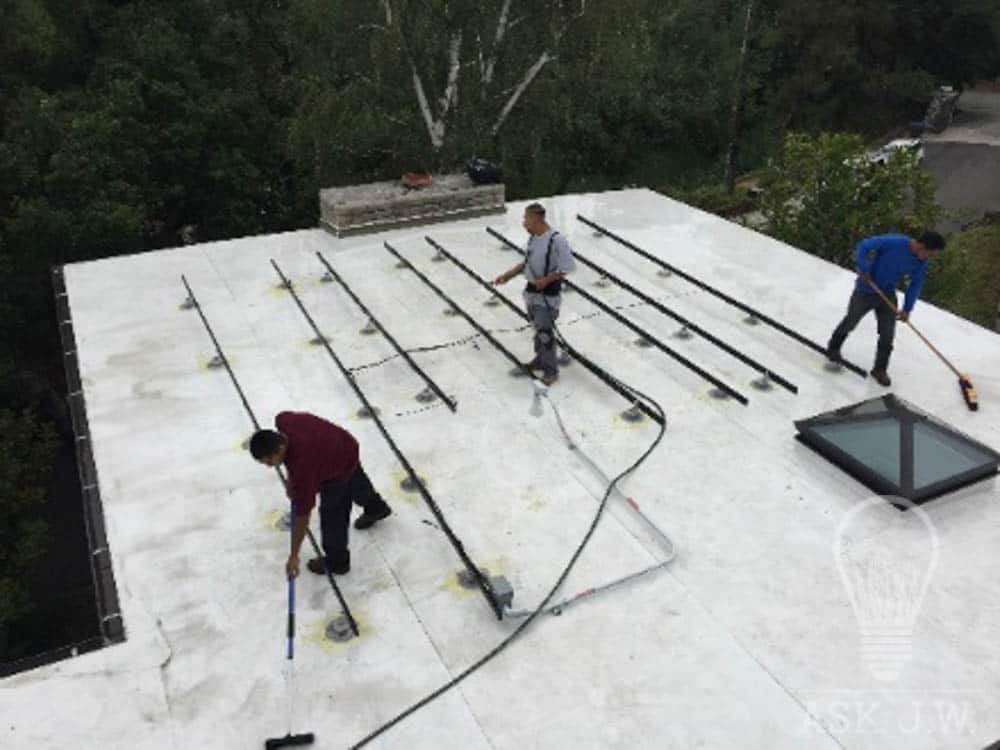
Prior to placing the SGW Drain Core system the surface must be clean and free of debris, dirt and contaminates that will prevent the adhesive to bond when installing. I recommend using a degreaser, water and push brooms to clean the surface. Once the surface is clean, use a leaf blower and dry the surface prior to placing the adhesive.
I recommend rolling out the drain core, cutting all sections to fit. This will reduce the time you will need during the placement of adhesive process.

I recommend using SGW Superseam or SGW Superseam Pro Adhesive to adhere the SGW Drain Core. Placing an adhesive that has low strength capabilities will cause future delamination due to thermal contraction and heat transfer. Prior to using any adhesive, it is best to always to an adhesion test to ensure compatibility of adhesive to the surface that you are placing the adhesive on.
Preparation of surface
Prior to placing the SGW Drain Core system the surface must be clean and free of debris, dirt and contaminates that will prevent the adhesive to bond when installing. I recommend using a degreaser, water and push brooms to clean the surface. Once the surface is clean, use a leaf blower and dry the surface prior to placing the adhesive.
Installing drain core
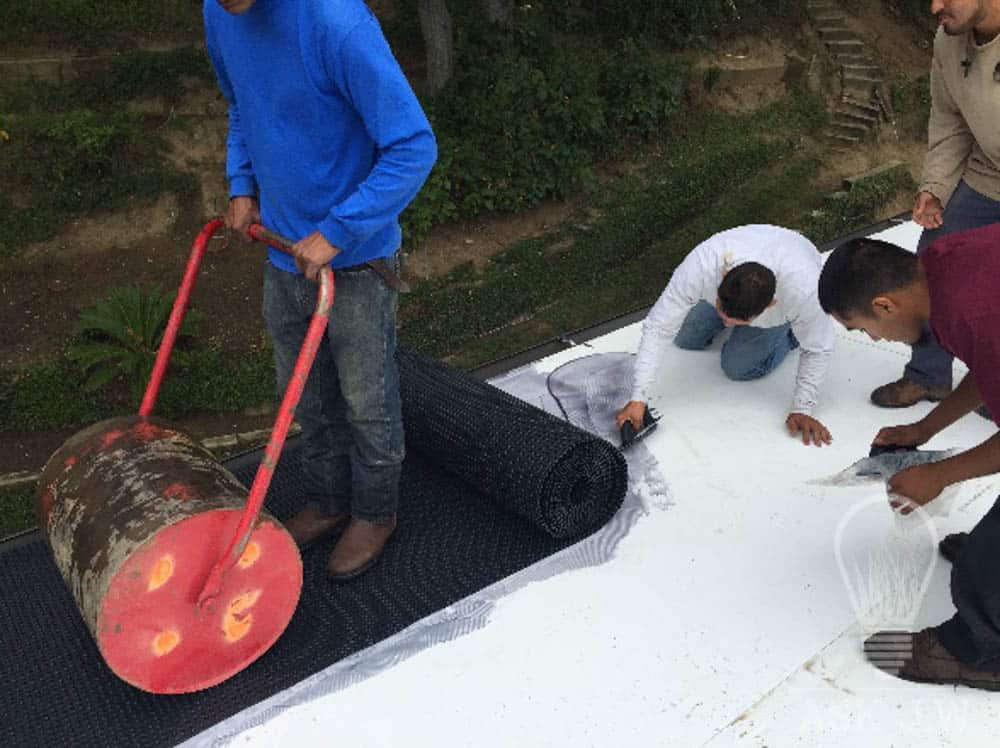
After the adhesive and drain core is placed, use a water roller to compress the adhesive to the surface. On days that have extreme heat you may need to roll areas more than once to ensure complete adhesion.
If you are placing drain core in temperatures that are 100 degrees and higher, I recommend using the “perforated drain core”. This will allow air to escape quickly and prevent premature out gassing during the adhesive process. The roof top alone absorbs the sun’s ultraviolet rays and may cause heat transfer to the drain core.
Having enough man power will allow the sections to be placed tightly together. Once you have placed the drain core on the adhesive surface it is time consuming and messy to remove and adjust.
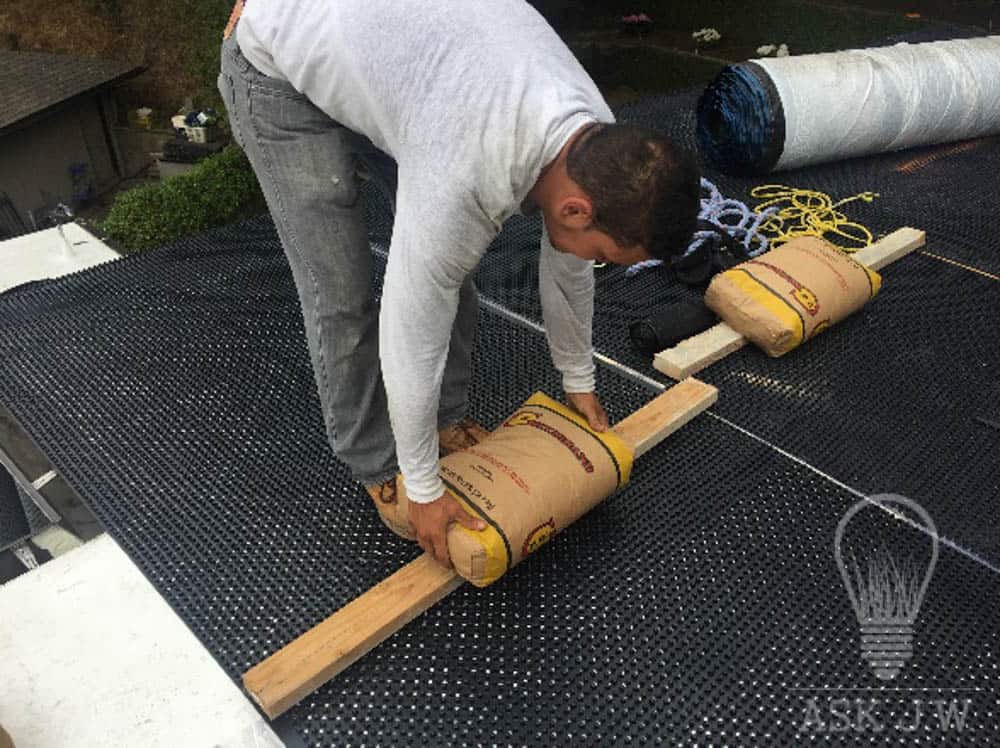
I recommend placing 2” x 4” lumber cut to small sections with a 50 pound bag to compress all connecting edges. This will prevent the connecting edge from curling during the curing process.
Fiberglass reinforcement
When all of the drain core is placed and cured, the next step is placing fiberglass reinforcement to the exterior perimeter edge. This will allow a smooth surface for the edge of the synthetic turf to lay and be adhered with glue.
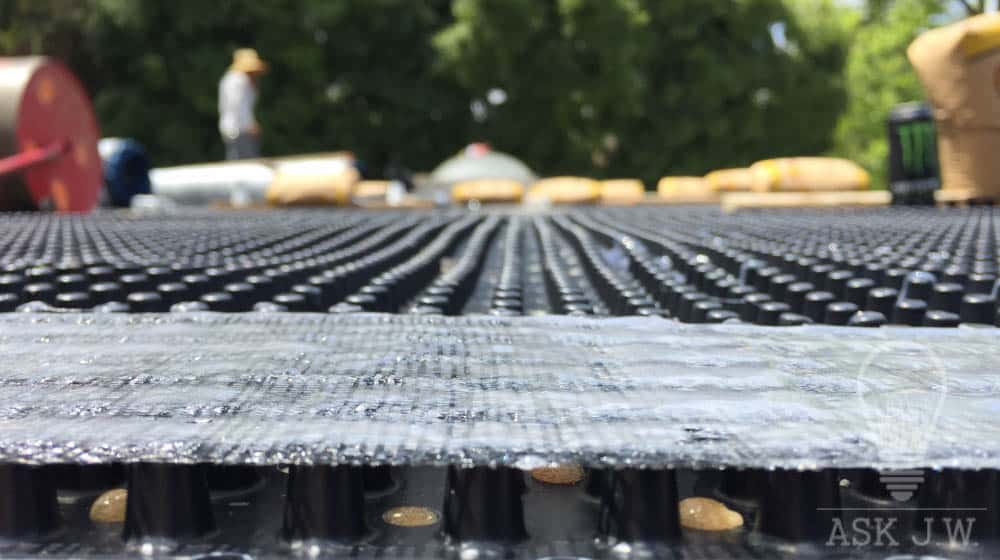
Placement of the fiberglass reinforcement at the exterior edge will allow rain water to pass under the drain core and exit the roof or balcony. When placing the Superseam Adhesives to the exterior fiberglass roll, make sure that the adhesive penetrates through the fiberglass and adheres to the exterior edge of the drain core. Do not place excessive amounts of adhesive, for this will seep down into the drain core and will stop the flow of rain water to be exited.
Turf Installation
When all of the drain core is in place and cured, inspect all seams and areas that have lifted and place adhesive where needed, then compress. I recommend using the Superseam Pro in the 29oz cartridge which will make this task much easier.
It is very important that you order the synthetic turf rolls cut to size according to your projects dimensions. You do not want to crane up rolls that are larger than your sections measurements. Rolling out full rolls and cutting them to size on the roof top will create more time and labor along with excessive weight distribution.
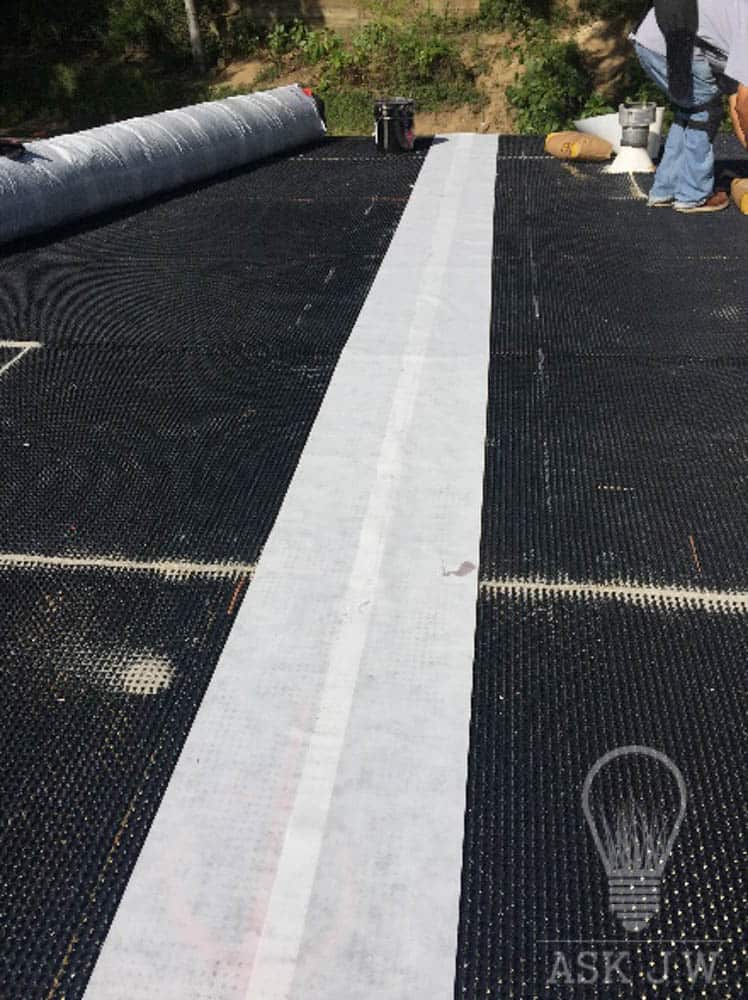
When seaming the sections of synthetic turf together I recommend placing two runs of fiberglass seaming tape. This will give the seam structural integrity and will prevent seam rupture due to thermal expansion and contraction.
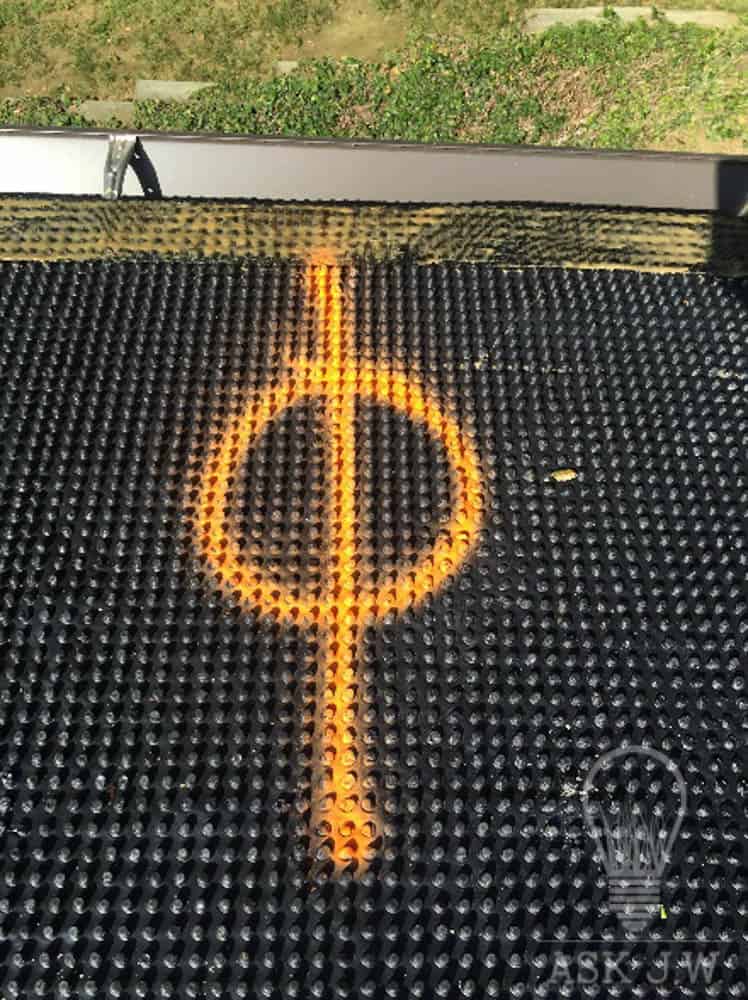
I recommend painting the center of the seam on the drain core to ensure that the seaming tape is centered.
Apply the adhesive to both sides of the seaming tape. This will prevent the seam tape from moving while seaming together.
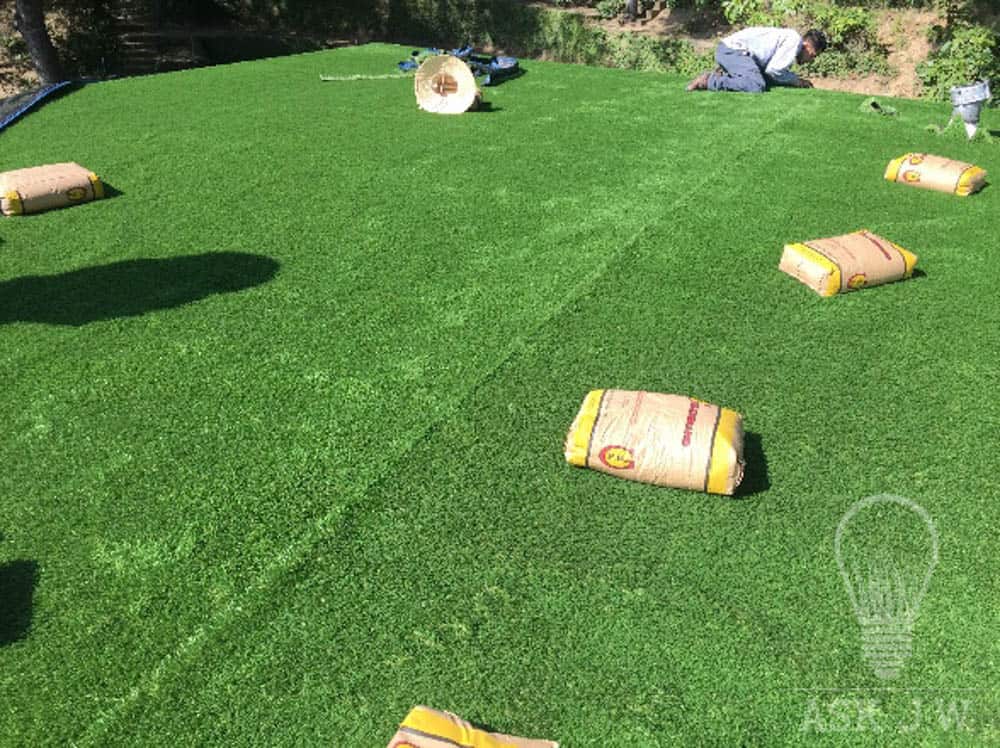
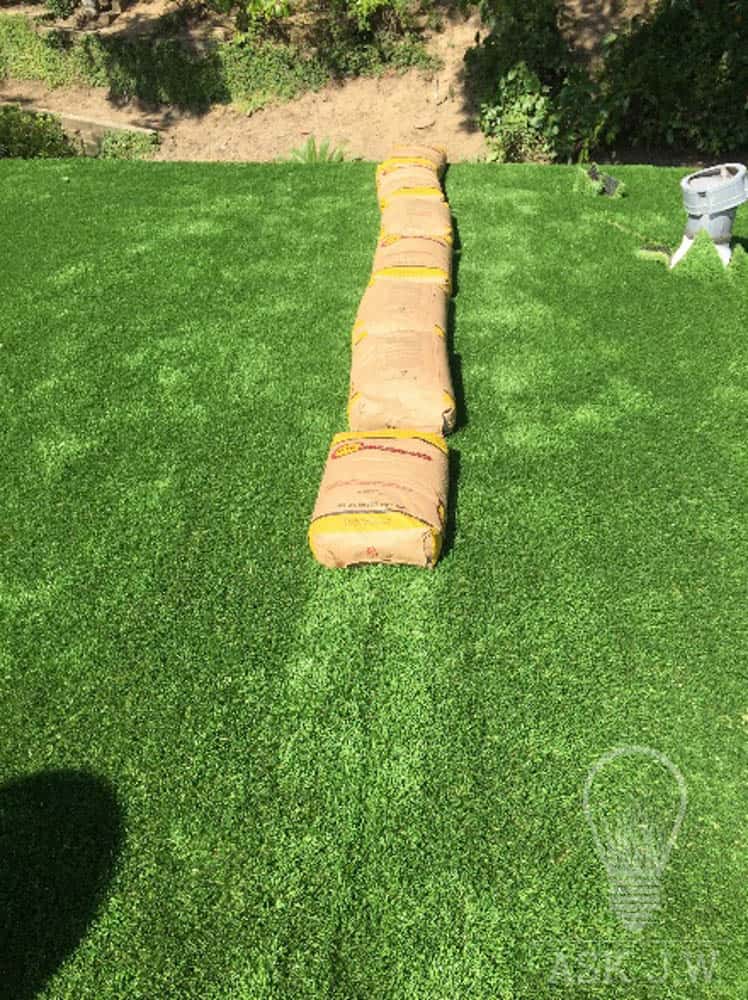
Place the synthetic turf together making sure that the seam is perfectly aligned. Use 50 pound bags of infill and place them left and right of the seam to ensure that the seam does not move. Fold open both sections like you would normally do in your seaming procedures. Place the adhesive on the seam tape at 1/8” and connect both sections together.
Place 50 pound infill bags on top of the center of the seam for compressing. Check the seam periodically until the adhesive is cured.
When the seams are complete and everything is cut in, it is time to adhere the exterior edge.
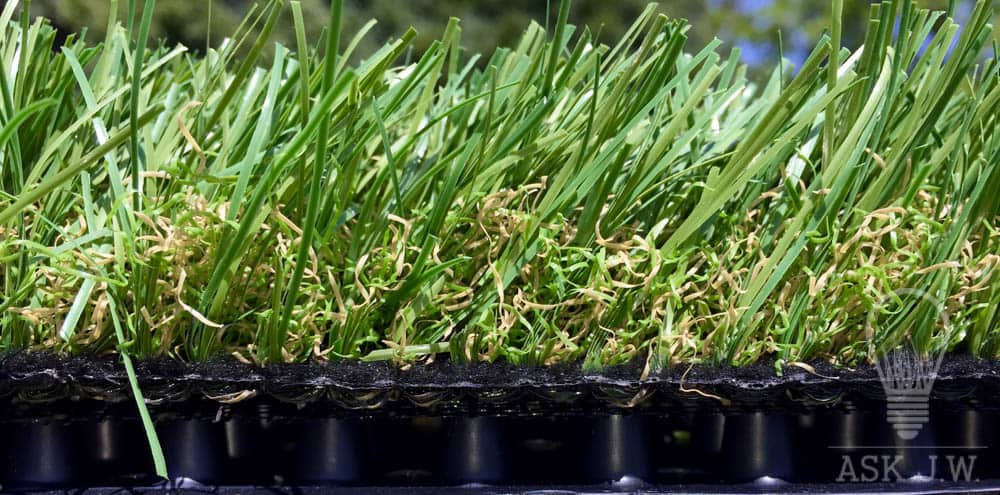
I recommend securing all exterior edges of the synthetic turf with the Superseam Pro 29oz Cartridge. When working at the edge of the roof top you do not want any spillage or excessive adhesive draining down the face of buildings. Place the adhesive on the fiberglass reinforcement and use compressive weight to ensure the bond while it is in its curing process. It is very important that the edge be adhered to the best of your ability. If the edges are not adhered, the edges will start to curl due to thermal contraction.
For more information regarding Roof Top & Balcony Installations contact J.W. askjw@sgwcorp.com or call 888.846.3598
Other Topics:

About SGW
Learn more about SGW

Certifications
IPEMA, Lead-Free, and CAD Details

Warranties
Our Industry Leading Warranties

Ask an expert
See if we’ve answered your questions

Media
Our tried and true steps for installation

Blog
Learn about our turf in depth
Here to help
Our Commitment
We are committed to providing the best artificial turf products at competitive prices. Our warehouse carries the most advanced synthetic grass products available, engineered to look and feel like real grass. Every turf product is made with high quality materials that are safe for everyone, especially children and pets.

Industry Leaders
SGW Greensboro has always stood out among competitors, offering new products with the latest technology.

Service Oriented
The only thing better than our grass is our customer service. Our staff is committed to providing the best experience possible for our clients.

Quality Driven
At SGW Greensboro we only offer products that maintains a high standard of quality. Backed by up to a 15 year warranty, the best in the industry.

